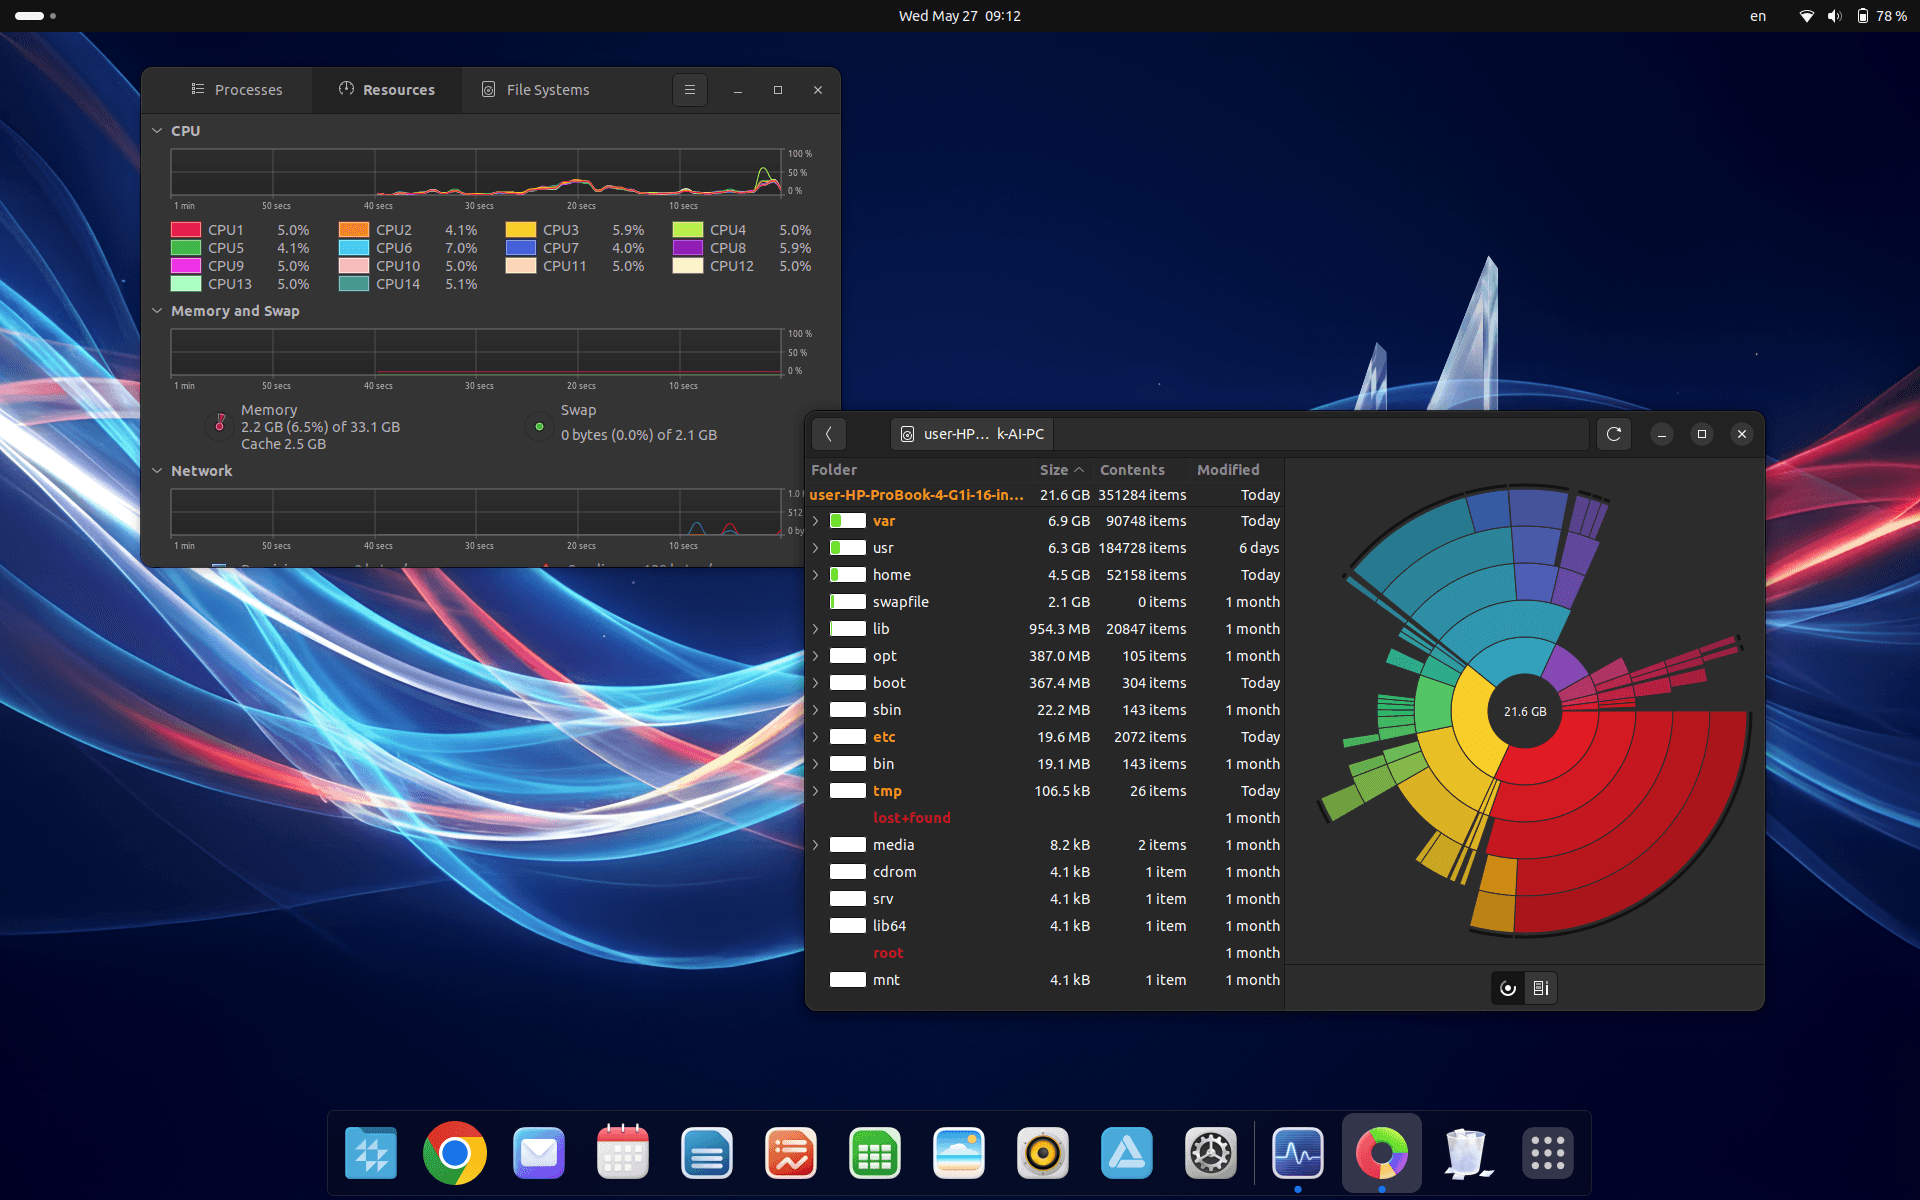
Installation guide
Installing CrvenaOS
Congratulations on choosing to install CrvenaOS! This simple process will not take much of your time. First, prepare the installation USB drive.
1. Prepare BIOS (or UEFI) for OS installation
Turn on the computer and immediately press the F2 key. Keep it pressed until the BIOS interface loads.
Important
If your computer contains data you need, we recommend making an external backup before starting the system installation.
Important
We recommend keeping the computer connected to the network throughout the installation process.
Note
The method for opening BIOS may vary. This can include the Del key or Fn combinations (e.g. Fn + F2). Check your computer’s manual for the correct method.
Note
The BIOS screens below are examples. Your computer’s interface may look different. If you have trouble finding a setting, contact our technical support.
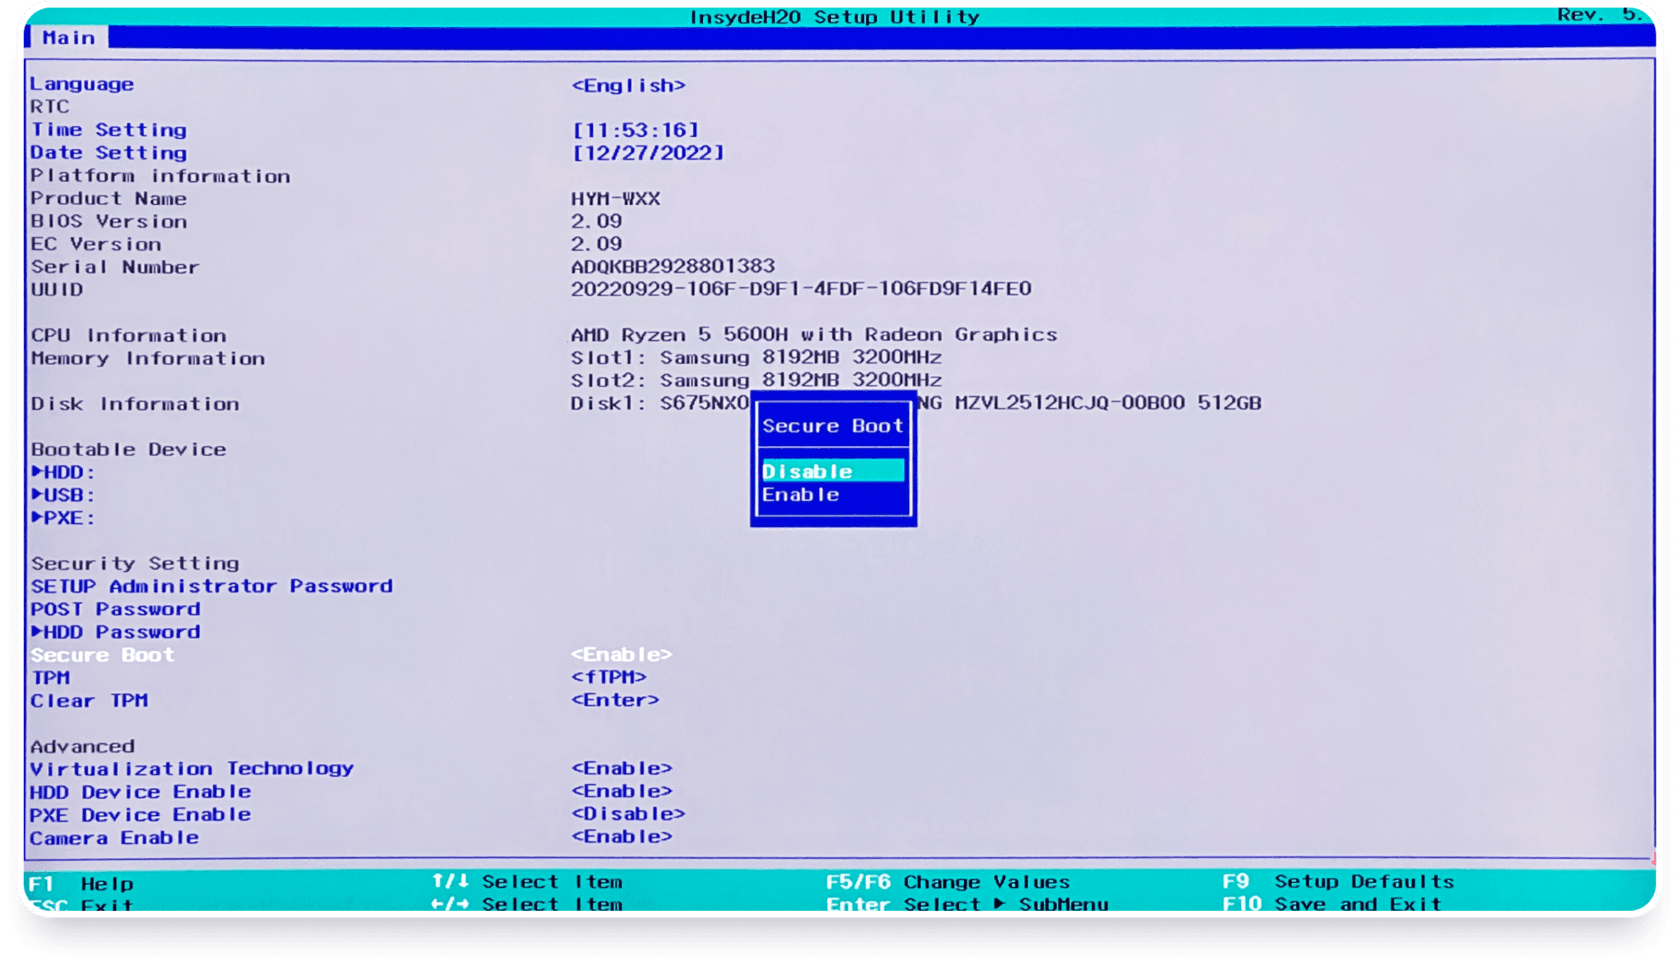
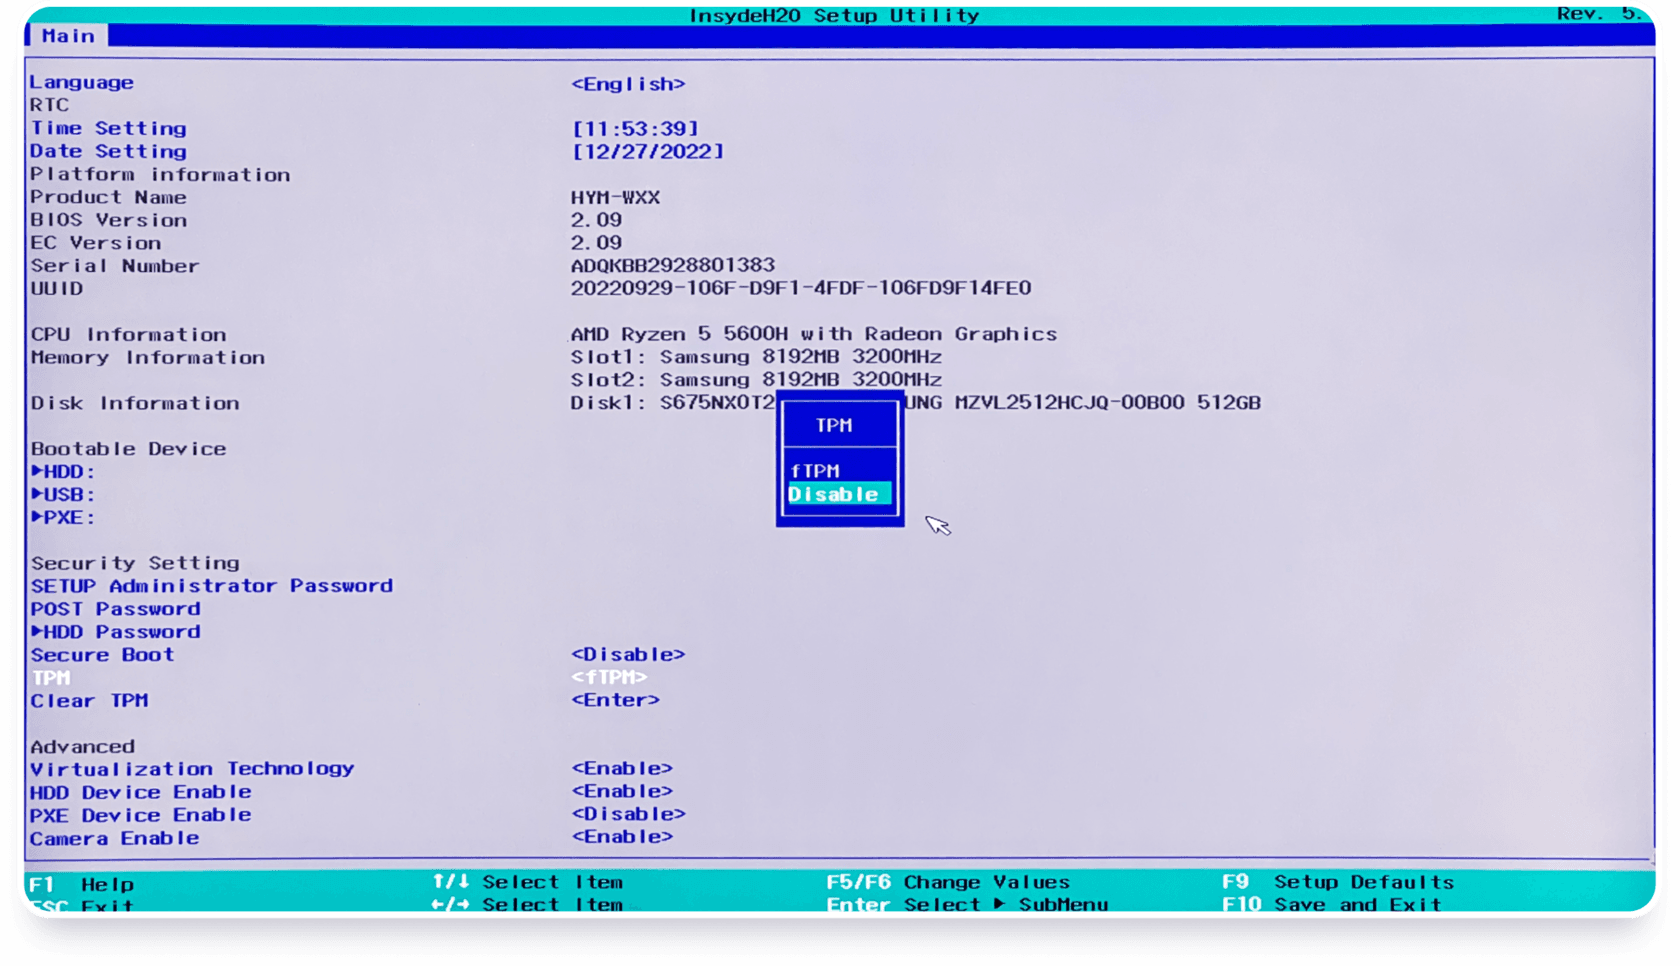
Disable (set to “disable” or “off”) the Secure Boot and TPM options.
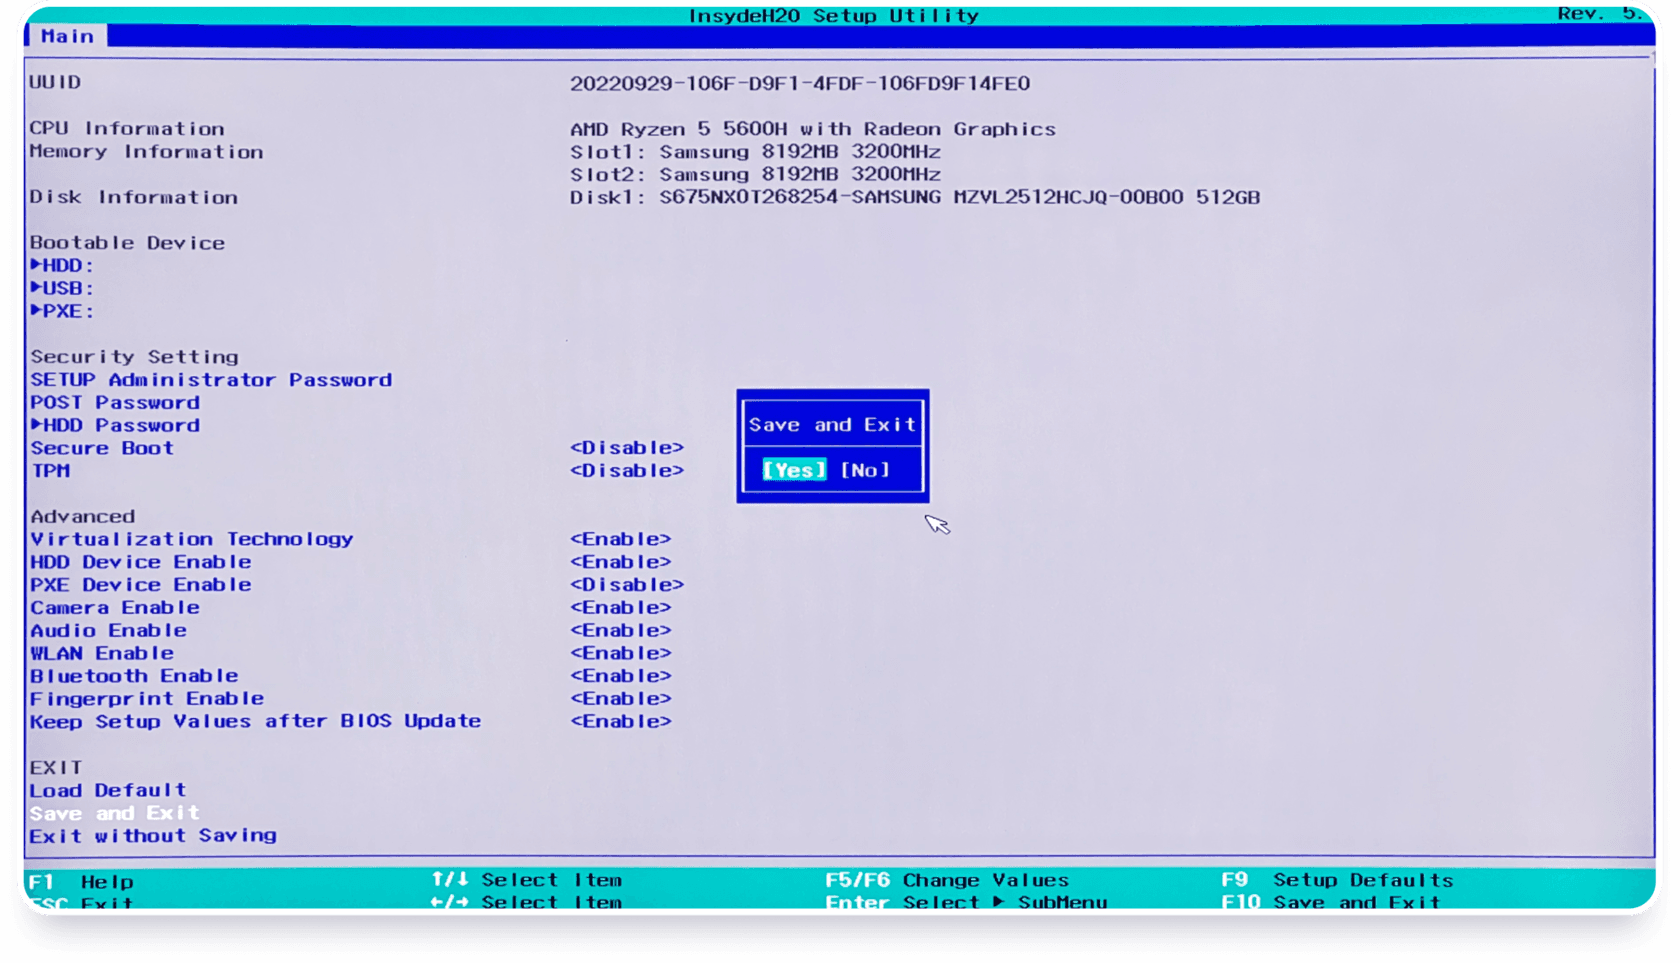
Insert the previously created CrvenaOS bootable USB drive into a USB port. To save changes, select “Save and Exit” and press Enter. At this stage BIOS/UEFI preparation is complete; after reboot, the system installation will begin.
Note
If the computer does not boot from the USB drive, set USB first in the BIOS/UEFI boot order, or open the Boot Menu at startup (often F12, F10 or Esc — depends on the manufacturer) and select the flash drive.
2. Install the operating system on the computer
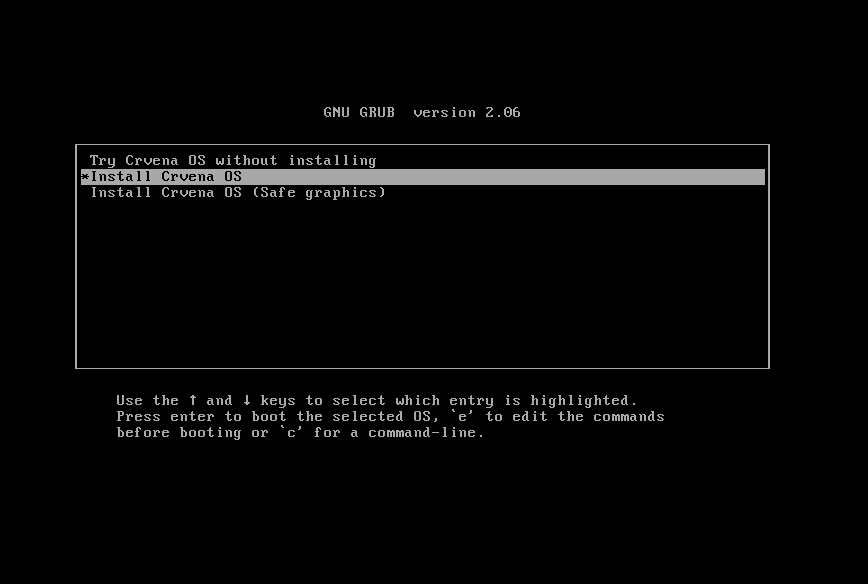
If BIOS/UEFI preparation was successful, the computer will boot from the installation flash drive. Choose “Try CrvenaOS” to run the system without installing if you want to test it — in that case nothing will be saved to disk. Choose “Install CrvenaOS” to fully install the system.
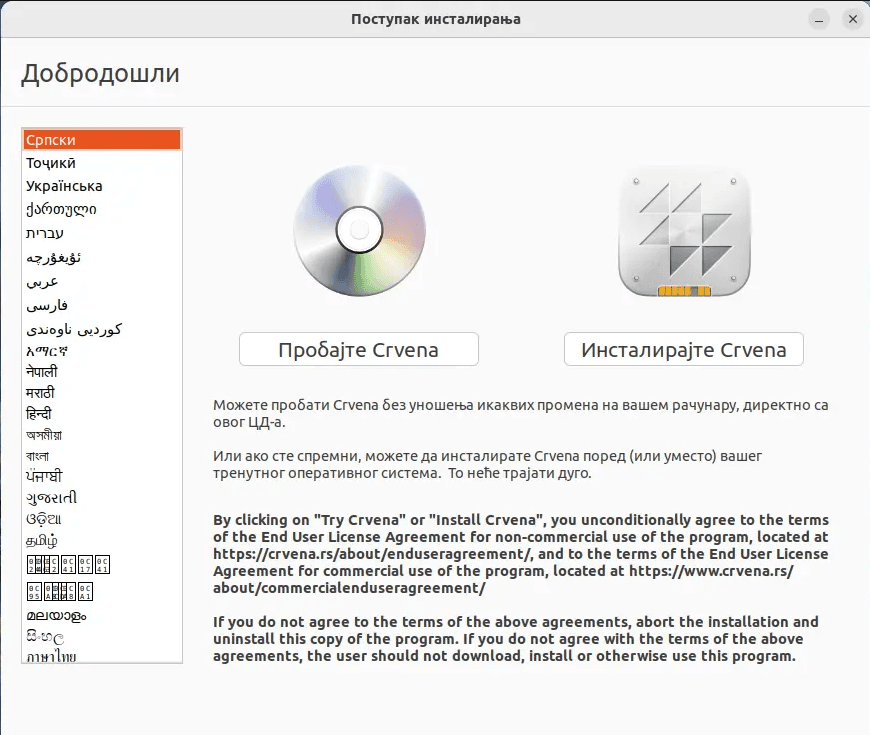
In this step you can select the language and confirm the boot/install mode again (choose “Install CrvenaOS”).
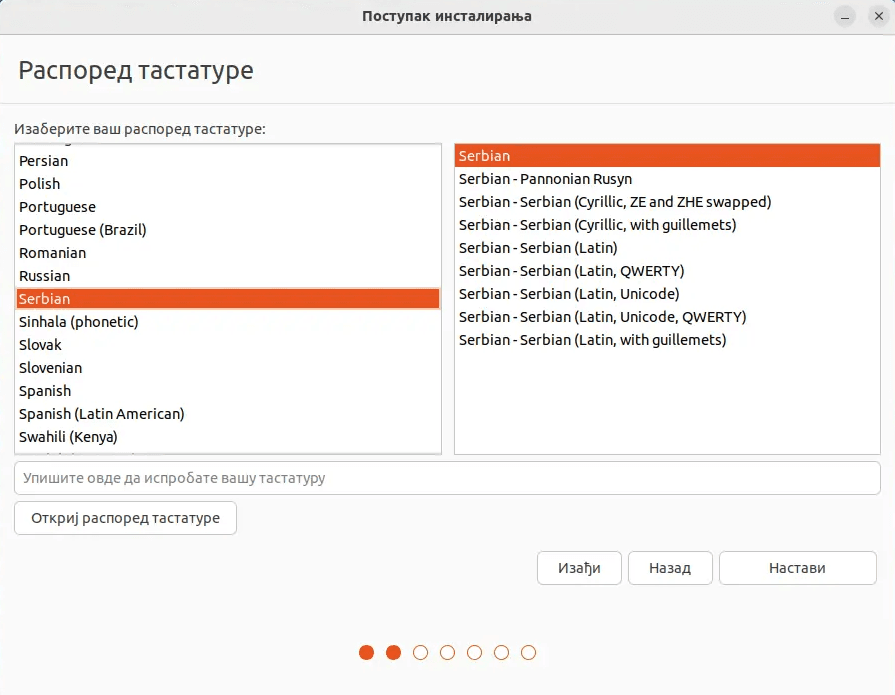
Confirm or change the language and keyboard layout.
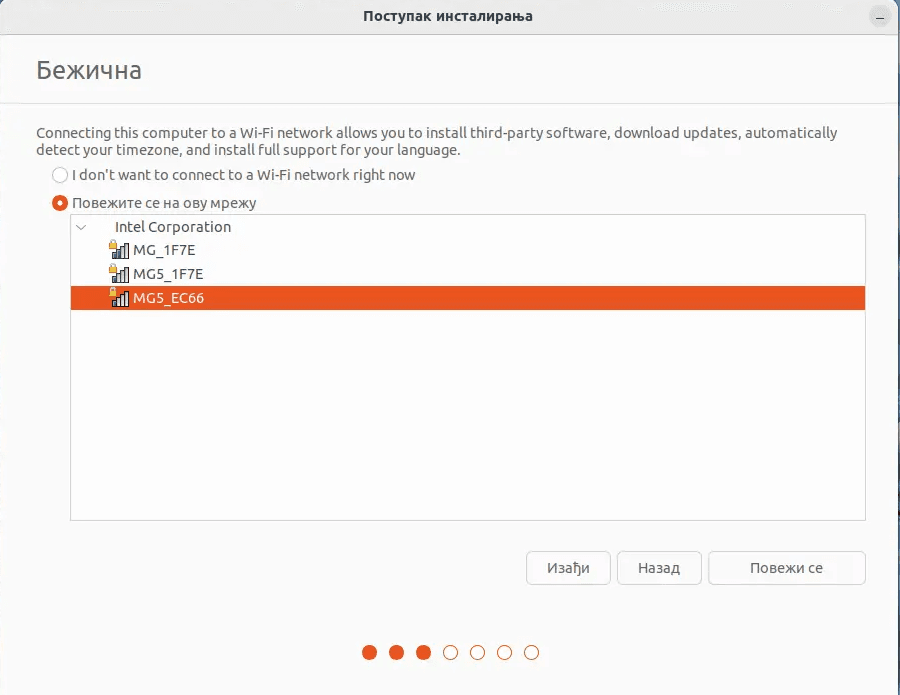
If your computer has a Wi-Fi module, connect to an available network or skip this step.
Important
A full installation and current updates require an internet connection. If you use a wired connection, check that the network cable is plugged in at this stage. You can also configure the connection later after the system is installed.
Click “Continue” in this step.
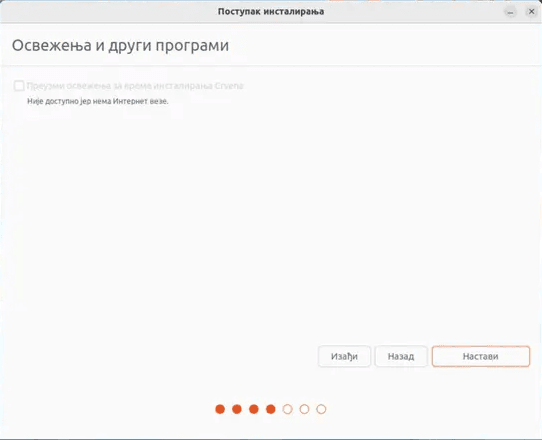
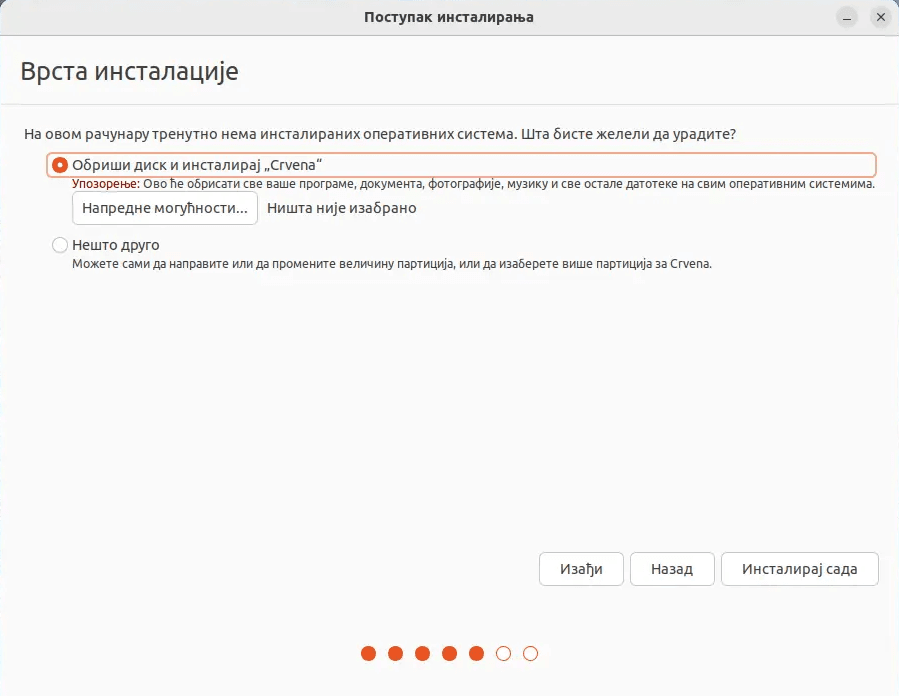
Disk partitioning
There are three modes for installing the operating system on disk. Option 1 — automatic install with disk wipe (“Erase disk and install…”): simplest, but deletes all existing data. Option 2 — automatic install alongside an existing system (e.g. Windows): keeps the current OS and lets you choose which system to boot (dual-boot); available if an OS is already installed. Option 3 — manual partitioning: for advanced users who want custom separate partitions.
Important
If you have important data on the computer, we strongly recommend making an external backup regardless of the installation mode you choose.
Important
We recommend using manual mode only for advanced users with the required skills.
Note
For dual-boot with Windows, leave enough free disk space before installing (or create a partition in advance). At each startup you will choose which system to load.
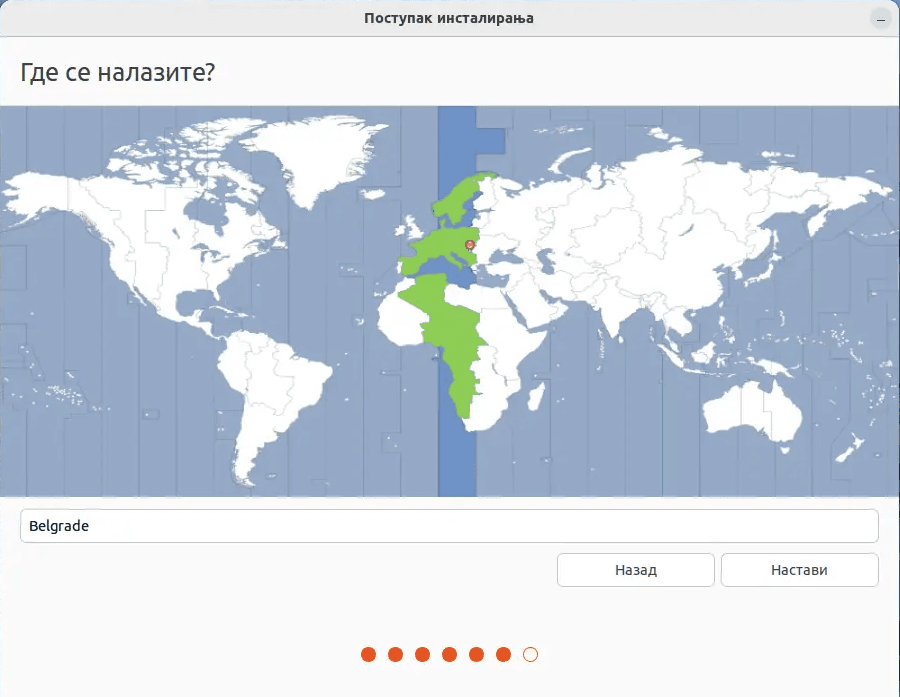
Confirm or change the time zone.
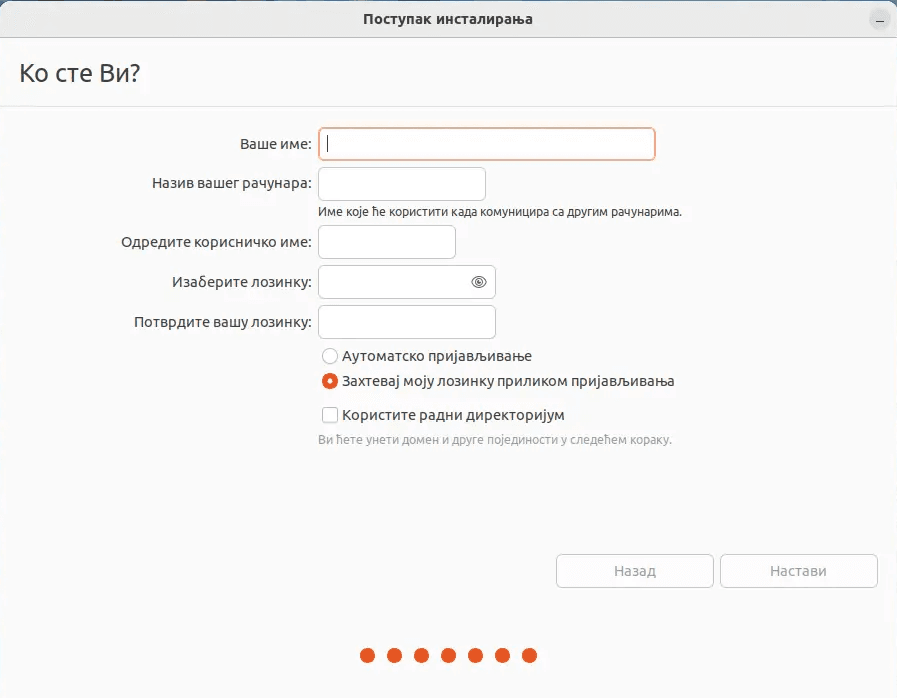
Fill in the form to create a user account.
Note
The username will also be used as the name of your home data folder.
Note
The password you set in this step will be used for signing in, installing and uninstalling programs, and other important actions.
Important
Please store your password safely. If you lose it, it cannot be recovered and you may lose access to the system.
Wait for the installation to finish (this may take 10–15 minutes) and reboot the computer following the instructions. Do not remove the flash drive until prompted.
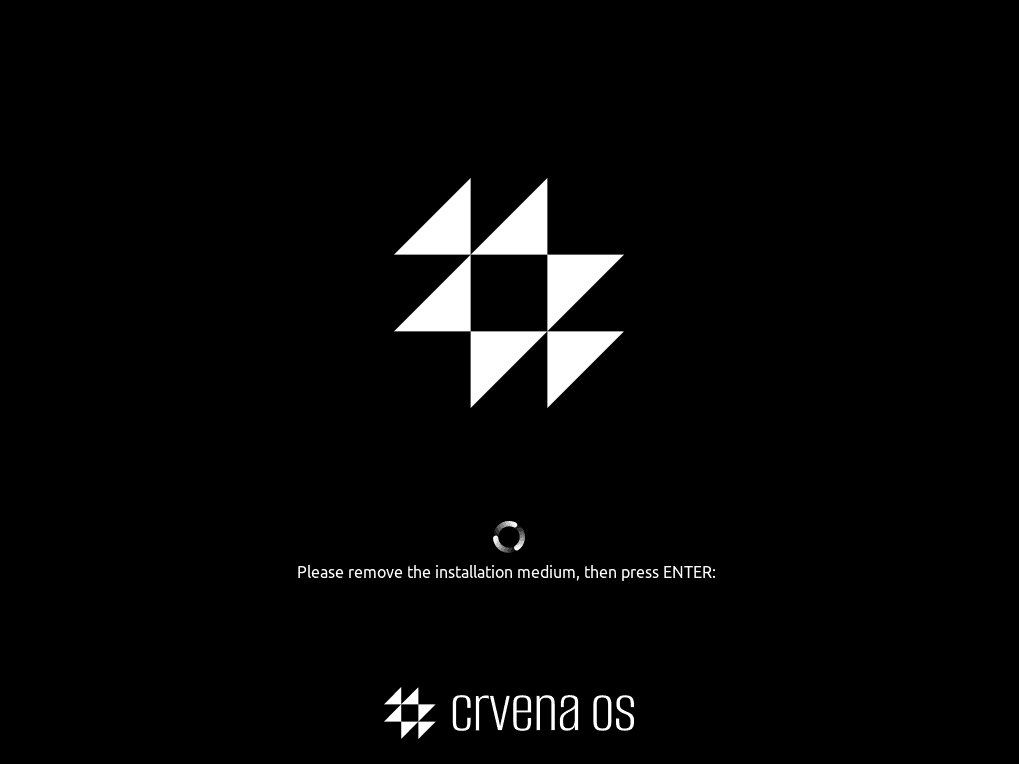
After the next reboot, your computer with CrvenaOS is ready to use. Congratulations! Enjoy using CrvenaOS.
3. Common problems
The computer will not boot from the flash drive
Check BIOS/UEFI settings: disable Secure Boot (and TPM if needed), set USB as the first boot device, or open the Boot Menu at startup and select the flash drive. Make sure the USB was created correctly with balenaEtcher.
Wi‑Fi is not detected
Some adapters need additional (proprietary) drivers. If possible, temporarily use Ethernet or a mobile hotspot, finish the installation, then connect to the internet and install the required drivers from the system or App Store.
Need more help?
Send a description of the problem (and screenshots if useful) to support@crvena.rs, via Telegram @crvenaos, or the contact form on the website.
System Requirements
Runs on modern hardware.